Best selling products are those that provide the most revenue for your online store. They are also the most popular things in customers’ shopping carts, so we’ll give you some tips in the following post for boosting sales.
Determine the best selling products
Firstly, you need to determine which products are your best sellers by checking the number of stocks on the inventory report or the number of sales of products on the order report.
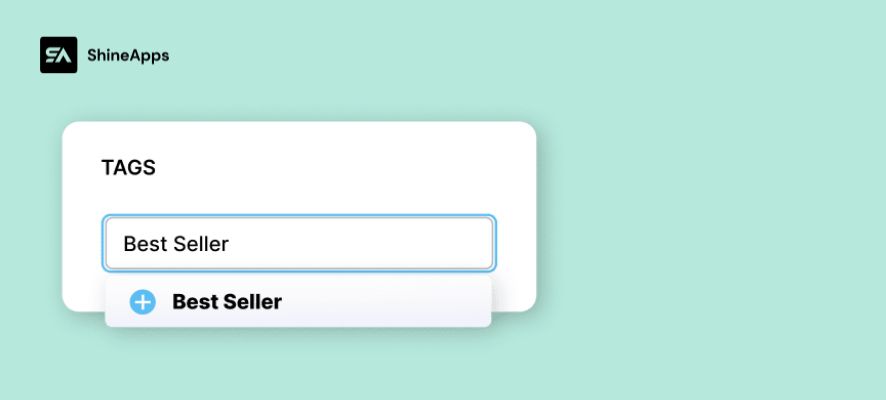
Then, after you find your best-selling products, you should add a product tag like “Best Selling” or “Best Seller” to each of the products.
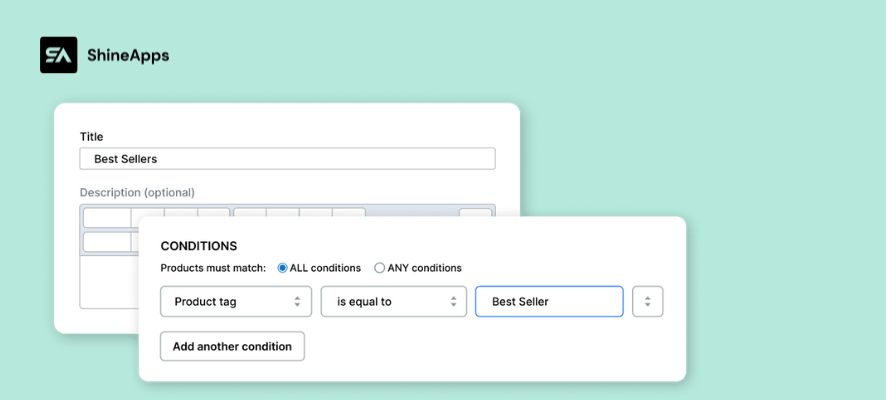
Once you are finished, let’s create an automated Shopify Collection with the “Best Selling” or “Best Seller” product tag that we have added.
Promote the best selling products
Add product badges
To attract customers to your best-selling collection, you need to put the group in a prominent place on the homepage. Next, add a product badge to best-selling products to make them stand out from others.
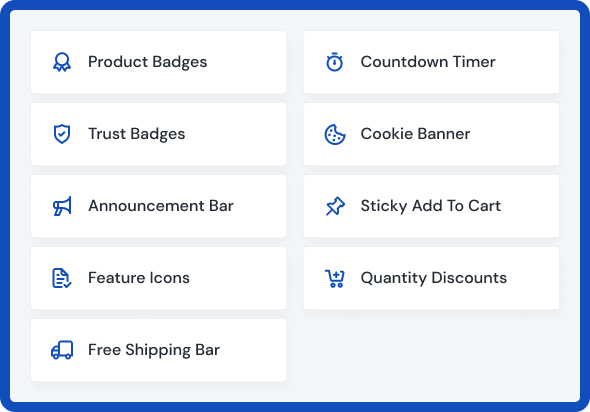
Product badges, labels, and stickers are all useful ways to attract attention to specific items in a business. To make a product badge stand out, you can apply it by mixing text or graphics with creative design features.
A reason to explain why product badges help increase sales is because they can be used to take advantage of psychological factors like scarcity, urgency, and social proof.
Due to their fear of missing out, shoppers are more likely to purchase an item that is almost sold out. Similarly, customers who are considering a purchase may be encouraged to do so by the social proof of other customers.
You can use Product Labels – ShineTrust, which is a third-party app that attracts buyers’ attention to best selling items. It provides a lot of pre-designed “Best Selling” or “Best Seller”, personalized text, or uploading your own product badge design is easy.
See the guide on how to add product badges to the ShineTrust app below:
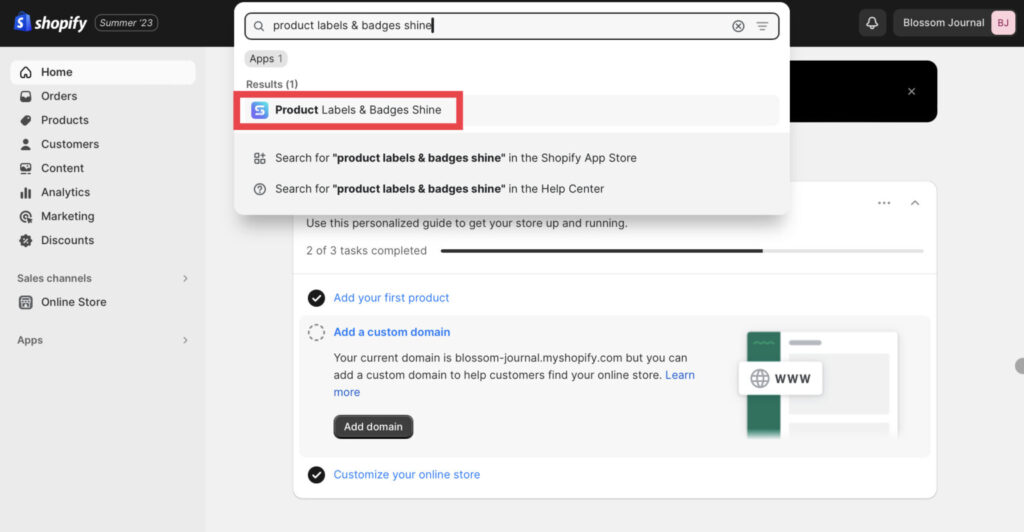
Step 1 – Find and install the app Product Labels & Badges Shine to your online store.
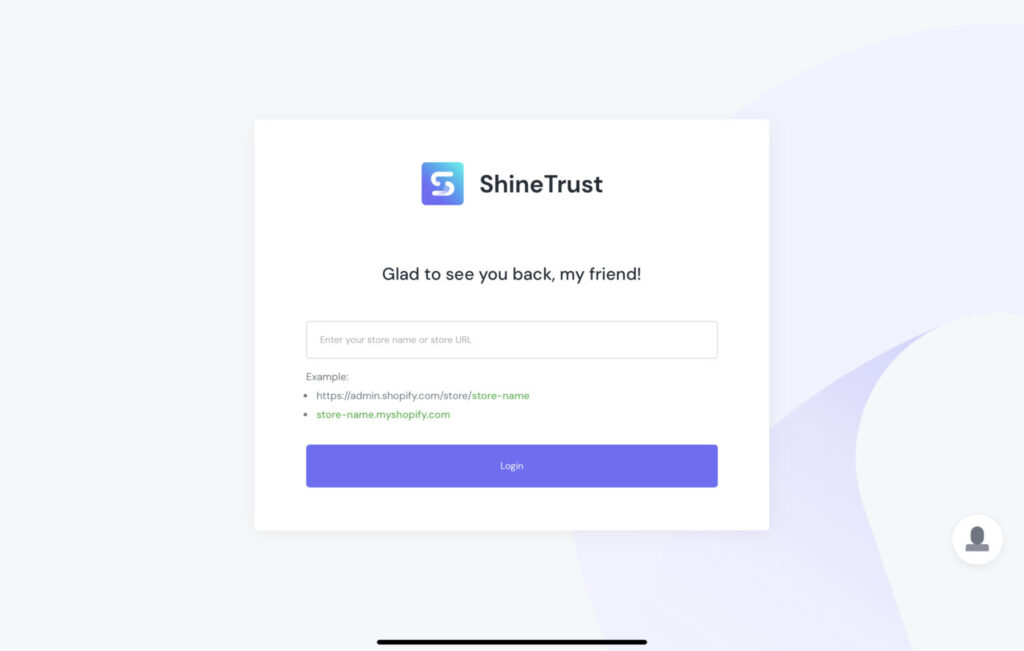
Step 2 – Enter your store name or URL link of your store
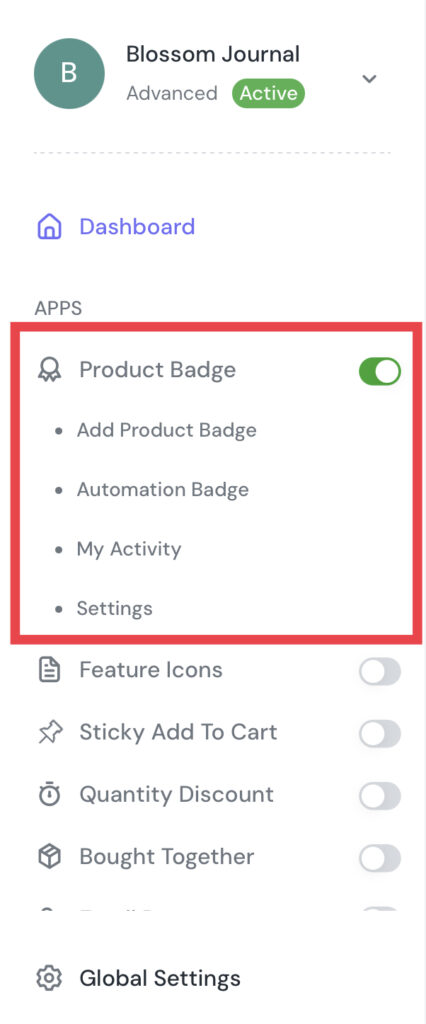
Step 3 – After going to the Dashboard, turn on the Product Badge
Step 4 – Then, click on the Product Badge, after that, choose Add Product Badge to start.
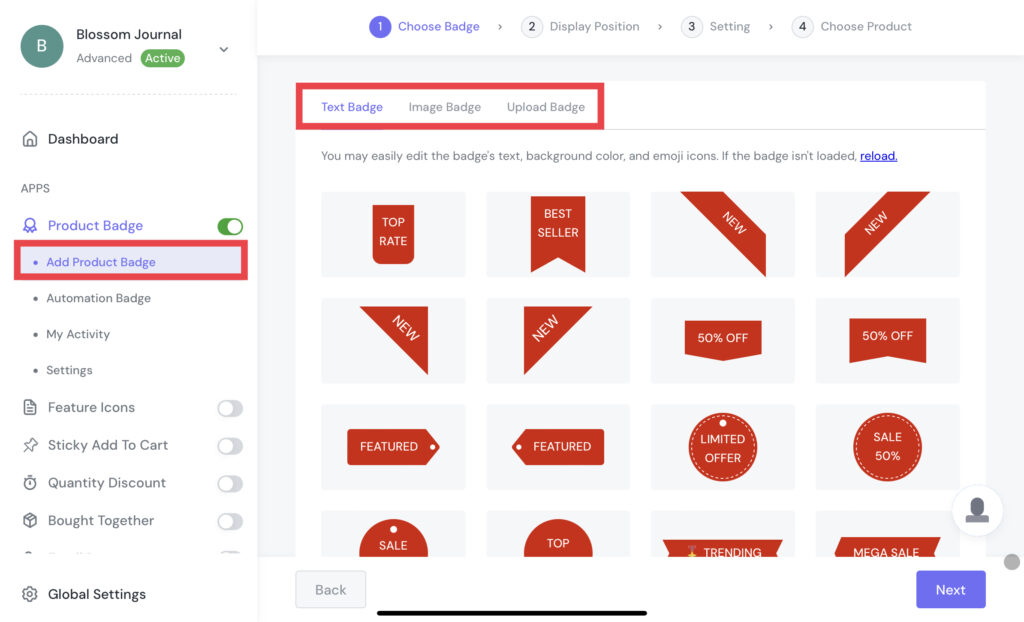
There are three types of product badges for you to choose from: pre-design, custom text, and uploading your design.
Text Badge – Find and choose the pre-designed “Best Selling”. You can use the search bar to quickly find designs.
Image Badge – Among multiple image choices, you can search “Best Seller” or “Best Selling” on the search bar to find your favorite one.
Upload Badge – You can drag files from your folder into this section. In addition, click Browse to submit your badges. The supported file types are jpg, jpeg, png, SVG, and gif.
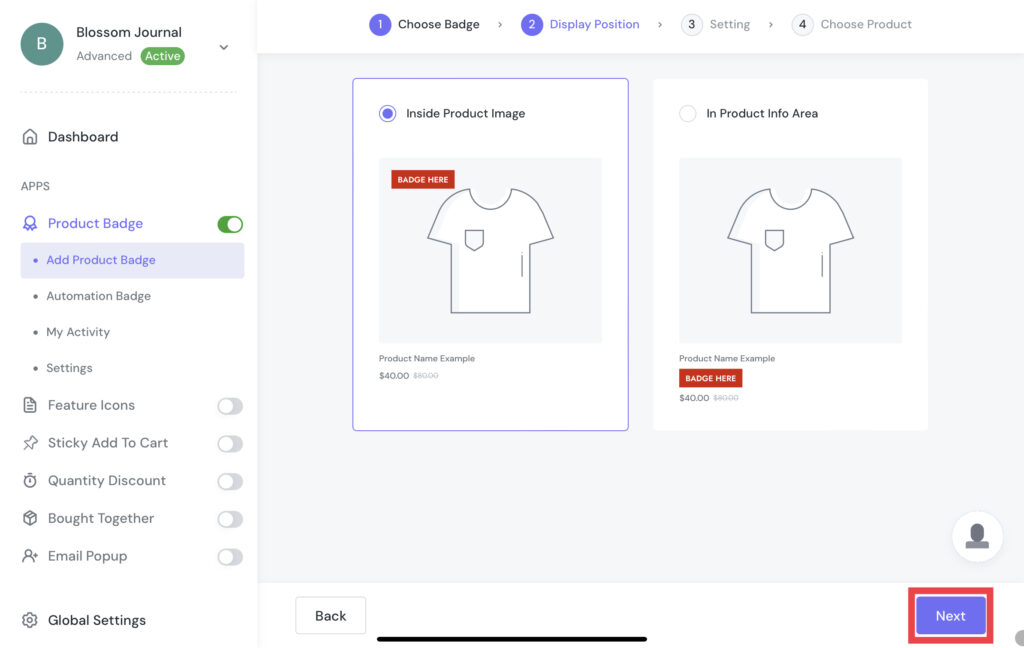
Step 5 – After choosing your favorite one, click Save to go to the Display Position choosing step. There are two positions you can choose from: Inside Product Image and In Product Info Area.
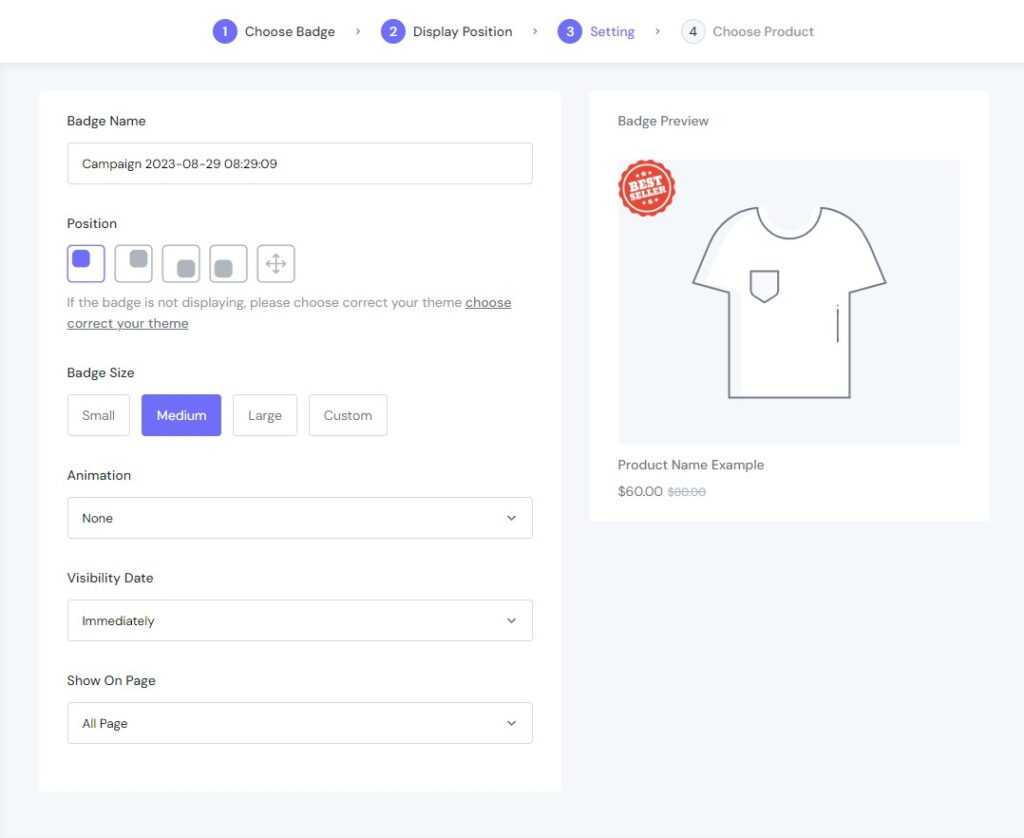
Step 6 – Now we are coming to the Setting step. In this step, you can customize your “Best Selling” product badges based on your favorite style. This custom step can be quite different between Text Badge, Image Badge, and Upload Badge.
Note: Text Badge will have General and Advanced Setting, while Image Badge and Upload Badge don’t.
Step 7 – Click Save to go to the Choose Product step. Now, you can choose the product you want to mark as “Best Selling”. Then, click Save to finish.
Note: You can check and edit the product badge in My Activity.
On the other hand, in case you can’t imagine these steps, check out the video guide.
Add Announcement Bar
It’s time to advertise our best selling products throughout the store for the greatest reach now that we’ve recognised, labeled, and badged them. Make an announcement bar that points to our best selling products and displays it on our homepage.
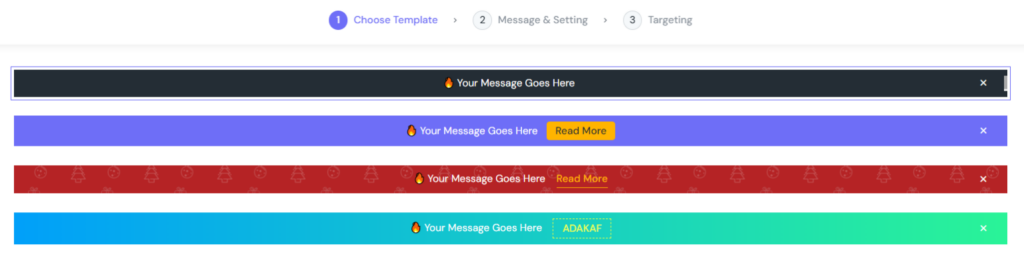
Step 1 – Choose Template: There are four templates for Announcement Bar that you can choose from.
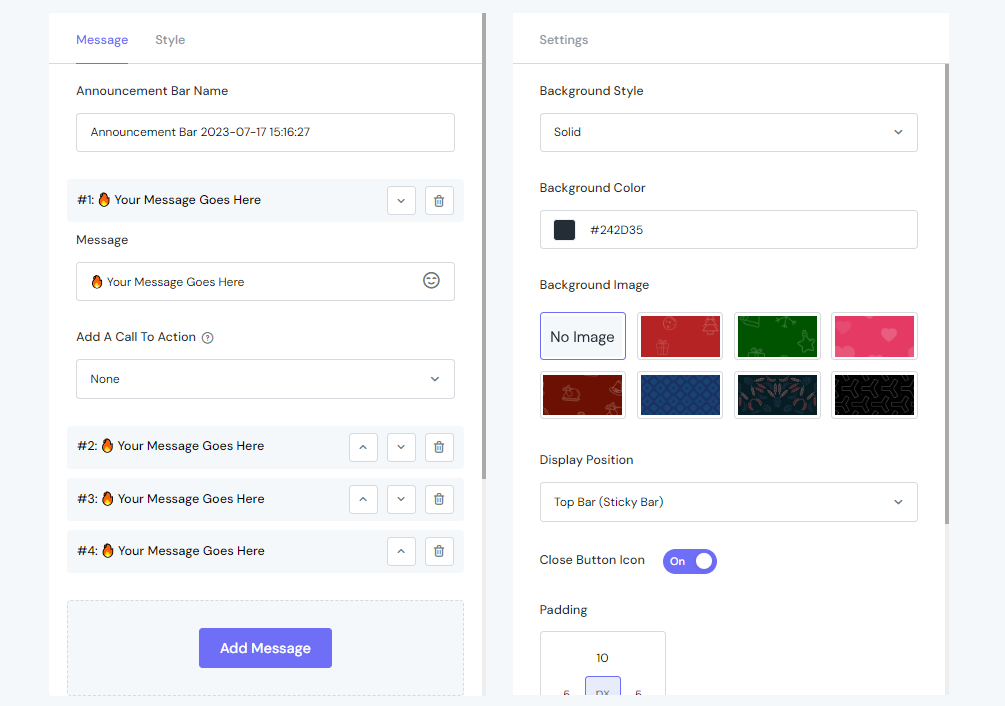
Step 2 – Custom Message & Setting: Customize the look of your Announcement Bar.
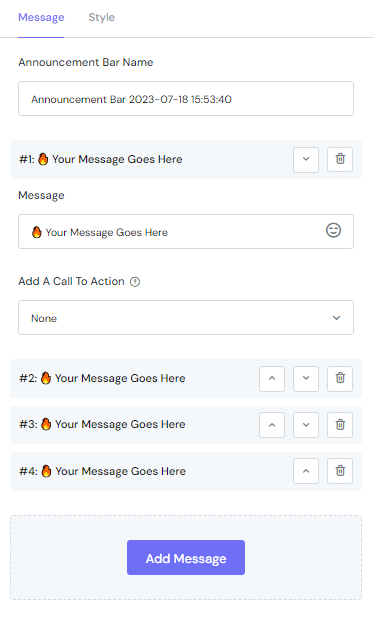
In the Message tab, you can configure the following information:
Announcement Bar Name
Message
Add A Call To Action
In case you want more than one message in your Announcement Bar, you can click on the Add Message button and repeat the previous actions.
Note: The multiple messages will be shown inside a carousel. It will let visitors slide right and left to see all the messages.
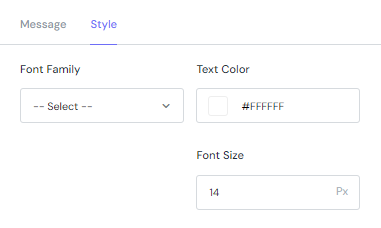
In the Style tab, you will customize the display of the text inside the Announcement Bar. From Front Family to Text Color and Font Size, you have full control to customize.
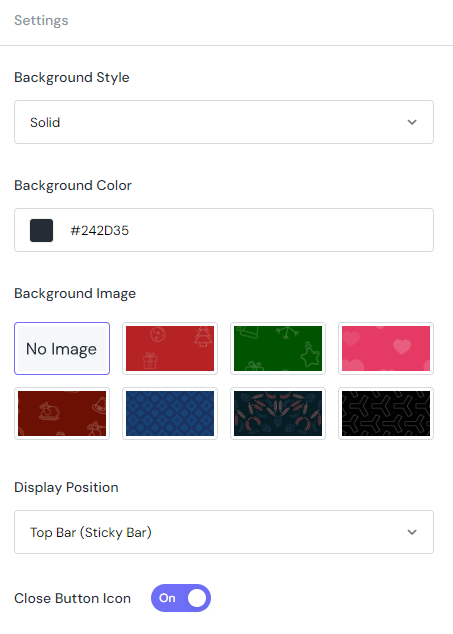
Next, in the Settings tab, you can customise the following fields:
Background Style: Select from two styles – Solid & Gradient
Background Color: Enter an exact hex code or use the color swatch to choose the one that fits your style best
Background Image: Besides 7 pre-designed images supported, you can select No Image if you want a simple bar
Display Position: Top Bar (Sticky Bar), Bottom Bar (Sticky Bar), Custom
Define whether to display the Close Button Icon or not
Customise the Padding
Set the Visibility Date with two types: Immediately or Custom Date
With the Behavior Setting field, you can set up Show After a period of time or Disappear After a period of time.
Step 3 – Targeting:
Page Targeting
You need to set up your Announcement Bar here. In the Show On Page section, select Include to include the pages listed inside the dropdown list on the right. If not, choose Exclude to hide the countdown on the chosen page.
Finally, decide which device the Announcement Bar will appear on under the Show On Device section. Choose between desktop, mobile, or both.
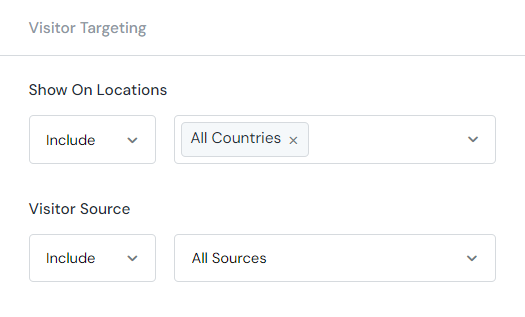
Visitor Targeting
This section helps you show your Announcement Bar in different countries. With the Show On Locations section, you can Include or Exclude whatever country you want.
Moreover, the Visitor Source lets you track leads from social media, including Facebook, Twitter, Instagram, Google, and others, with customizable tags.
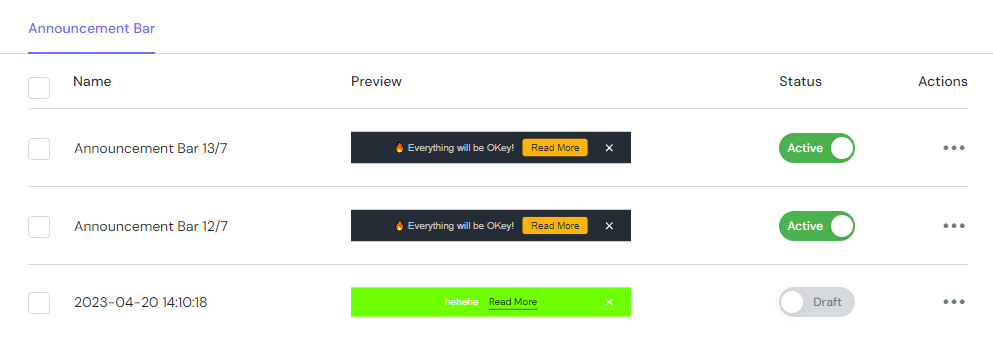
Step 4 – Save and check again
After saving, you can check the campaign on My Activity. It allows you to edit Name, Template, Status, and Actions. See the guide video here.
In Conclusion
Hope you will have a good time converting more sales on best-selling products based on our suggestions in this blog post!