How to create a Shopify Sticky Add To Cart Button?
By
namnv@shinecommerce.co
Uncategorized
How to create a Shopify Sticky Add To Cart Button?
By
namnv@shinecommerce.co
1. What is Sticky Add To Cart?
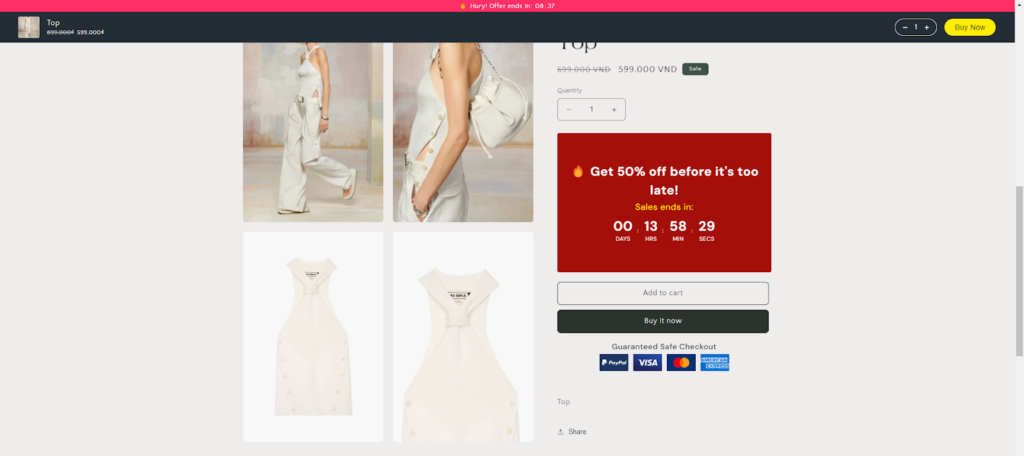
“Sticky Add to Cart” is a dynamic feature on e-commerce websites that keeps the “Add to Cart” button visible as customers scroll through product pages. This means that no matter how far down they scroll, the buy button remains easily accessible.
The Sticky Add To Cart features have greatly assisted in cross-selling and up-selling. It ensures that customers can add their favorite products to the cart quickly. Store owners can show many promotions to customers, and let them enter these offers easily. This will motivate customers to buy your product. The feature also helps support recommending more related products with more expensive and quality products.
2. How to Add Shopify Sticky Add To Cart Button?
2.1. Code your own
1. Access Theme Code
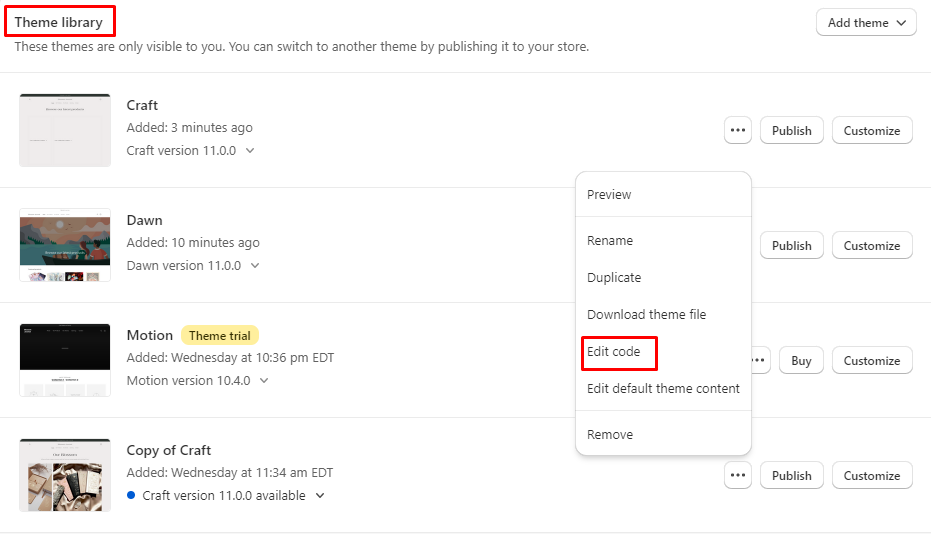
From your Shopify admin, choose Online Store > Themes.
Find the theme you want to edit and click the theme you want to try.
In the “Theme Library” section, you will see 3 dots, select “Edit Code”.
2. Duplicate the initial code
Copy it again, and then paste it under the original entry. It’s perfectly acceptable if you notice two “Add to Cart” buttons in your Shopify store that are identical.
3. Include the ID "sticky-atc"
The code should appear as follows:
<button type=”submit”
name=”add”
id=”AddToCart”
class=”btn”>Add to Cart</button>
4. Include the code in theme.css.
The primary CSS file can be found in base.css, for instance, if you’re using the Dawn theme. Paste the following code at the end of the base.css file:
#sticky-atc { /* Add your custom styling here */}
2.2. 3rd-party apps
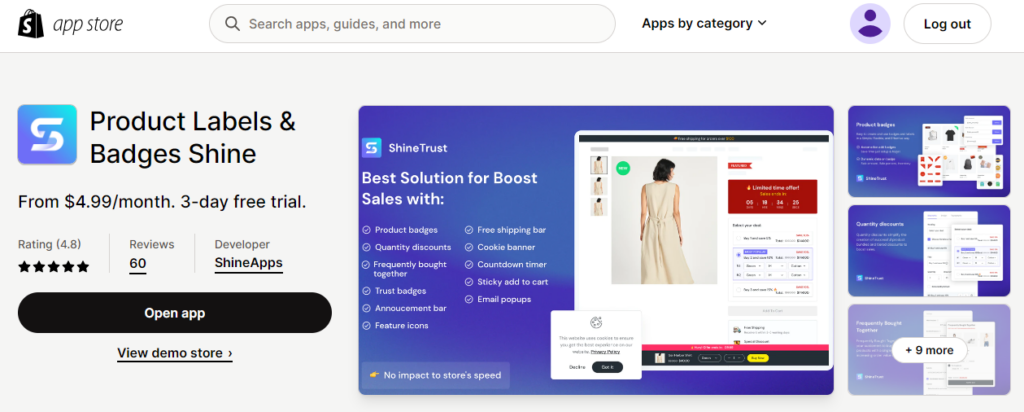
Step 1: There are many apps currently available in the market that support the ‘Add To Cart Button’ function. However, we offer a particularly simple, configurable, and user-friendly option. Find this app on Shopify store.
Step 2: Active “Sticky Add To Cart” in the sidebar and click on the part you want to change :
General
Design
Typography
Visible Settings
PREVIEW
You have the opportunity to see how your Sticky Add to Cart looks on both your computer and mobile device. This lets you make sure it’s just right for your customers. And don’t worry, I’ll guide you through all the different components you can personalize in the next part, so you can make it uniquely yours.
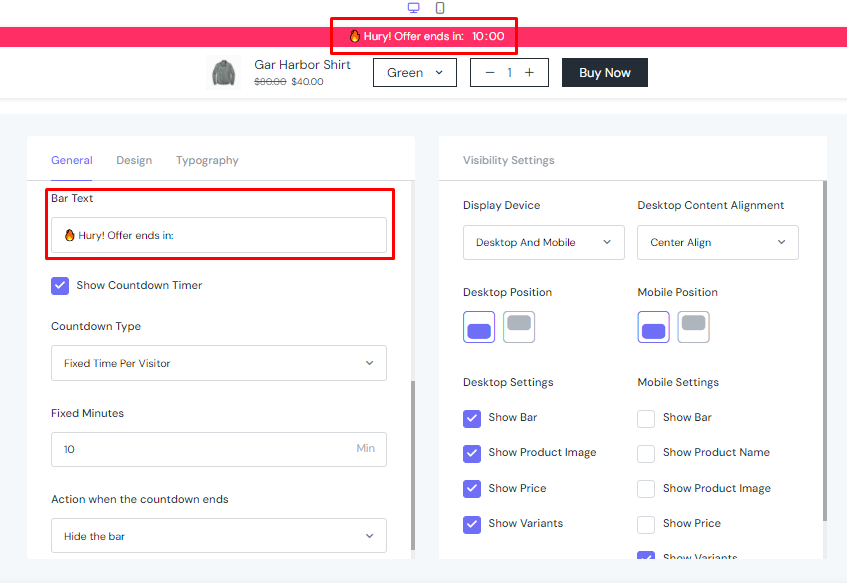
GENERAL
In the general settings, you can choose the color for the ‘Sticky Add to Cart’ button, which will be reflected in your website’s thumbnails
In button text, you can type “Buy now” to make a quick decision. You can set your add to cart button similar to our guidance here including After Clicking Button, Button Animation, Action when the countdown ends, v..v
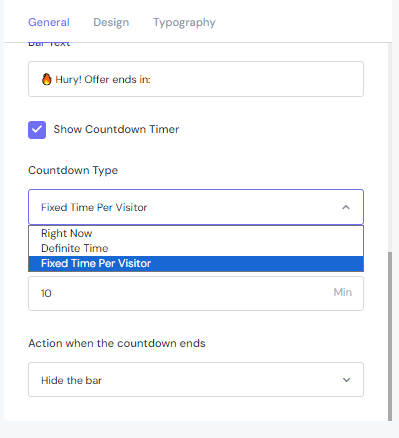
In the Bar Text -> Type your call-to-action command. The example is in the picture.
Choose Fixed Time Per Visitor, about 10 minutes.
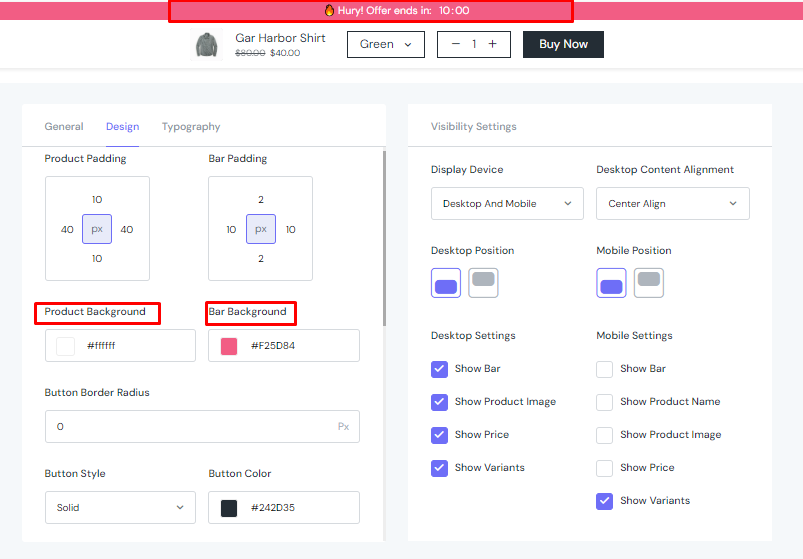
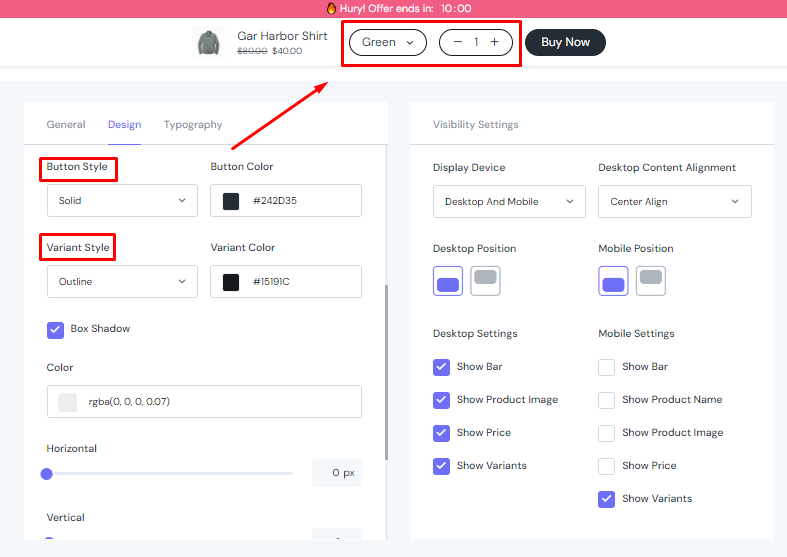
DESIGN
In the design section, you can configure the settings to define the Sticky Add To Cart’s look. You have full control over setting up Product Padding, Bar Padding, Product & Bar Background, Button Border Radius, Style & Color, etc.
This case, we configure the settings as the image above, with a pink theme.
In the Button Style and Variant Style, it has the function of adjusting the color frame to emphasize the color or content within the frame. You can install it according to my instructions.
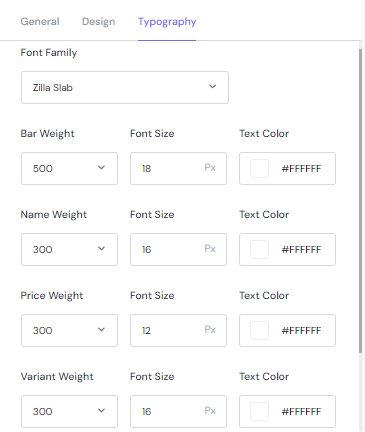
TYPOGRAPHY
In the Typography tab, the settings come with Bar Weight 500, Font Size 18, … and other configurations like above image.
Notice in the ‘Bar Weight’ section, you should pay attention to the ‘Preview’ section to adjust the size of the toolbar. This can enhance customer purchasing behavior.
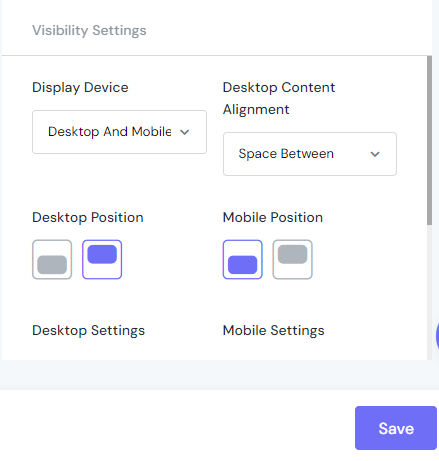
VISIBILITY SETTINGS
In Display Device -> Desktop and Mobile (Depend on your products that you want to buy on your store and you can put the sticky add to cart button in the top or the bottom of your website).
Desktop Content Alignment -> Space Between.
CHECK AGAIN
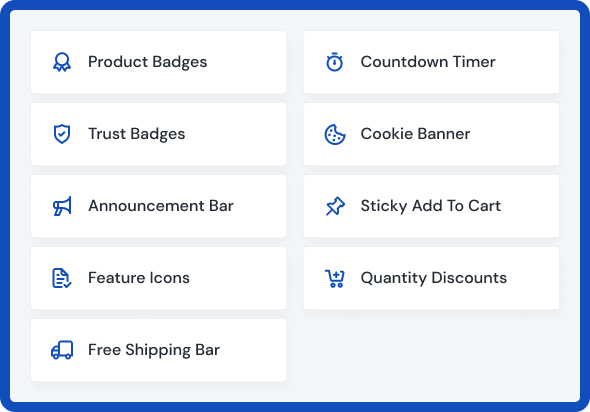
After all, you should double-check how your feature icons are displayed in the shop and make any necessary adjustments.
And this is your setting.
Notice in the ‘Bar Weight’ section, you should pay attention to the ‘Preview’ section to adjust the size of the toolbar. This can enhance customer purchasing behavior.
FINAL WORDS
We really hope that following our recommendations will make running your eCommerce business easier and increase sales. If you think your social network group will benefit from our tutorial, please feel free to share it with them. We are really grateful for your concern.