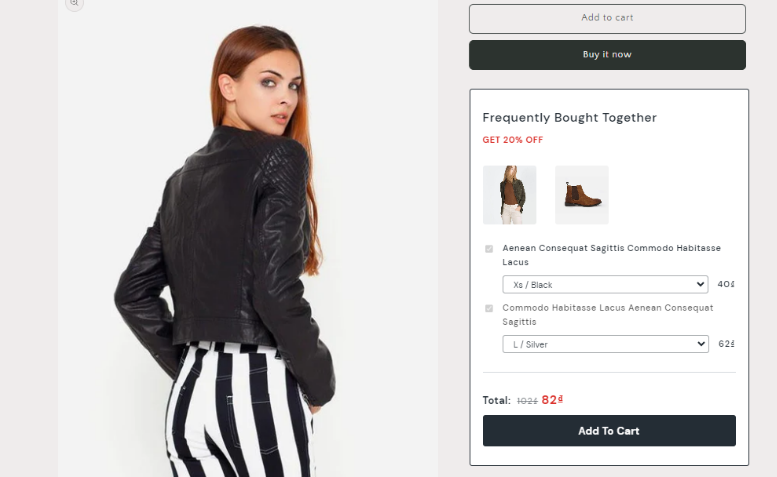
Settings
From the Add Bought Together section on the left, go to the Settings tab.
Configure settings like below:
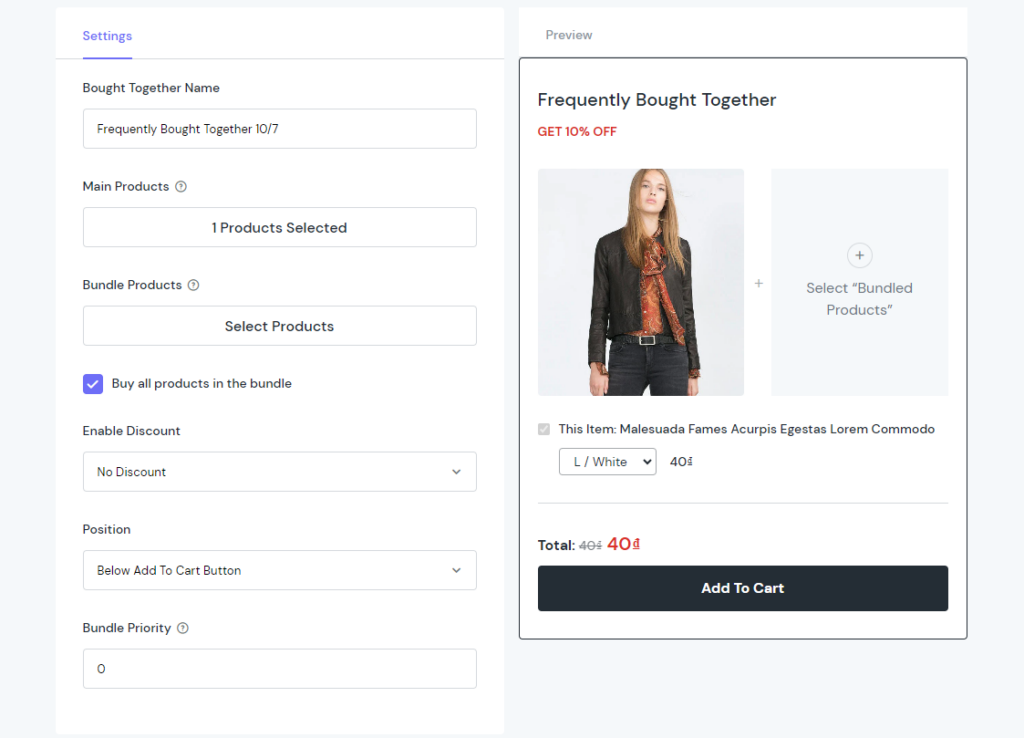
Select the Main Products
And the Bundle Ones
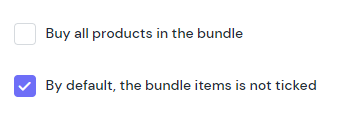
Define whether to preselect the products in the bundle or not
There are 3 options for discounts to choose from No Discount, Create Discount, or Automation Discount.
To Enable Discount, select one from the dropdown options. This case, we select Create Discount for the combo:
Define the Discount Value by 20 and the Discount Type by percentage:

Then, set up the Minimum Purchase Value and decide whether to let this discount combine with others or not using following fields.

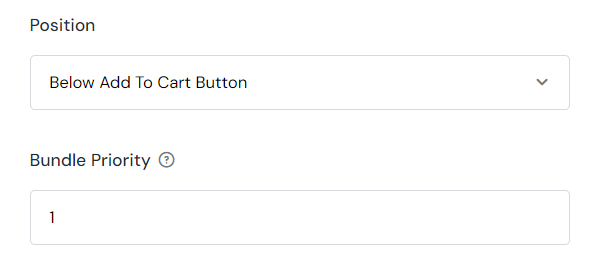
Next, place the Bought Together block wherever you want by choosing from 4 options: Below Add To Cart Button, Below the First Section, Custom Block, Custom CSS. This case, we select the Below Add To Cart Button position.
And, don’t forget to set the Priority for this bundle. The higher priority value will be displayed first.
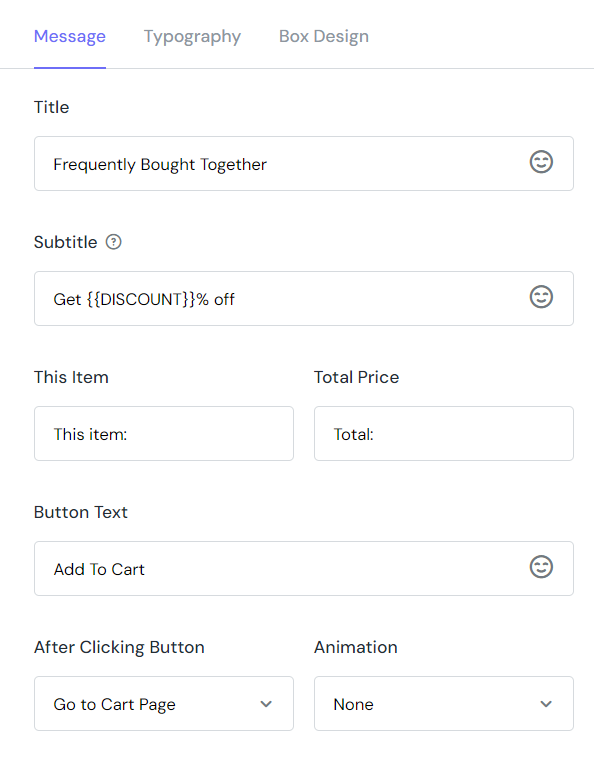
Message
Customize the message you wanna send to your customers.
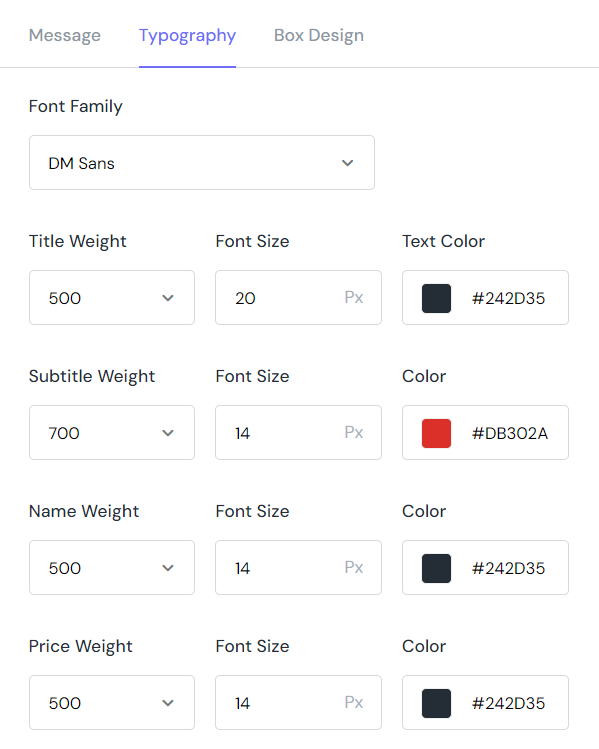
Typography
Make sure the design fits your brand identity or marketing campaigns
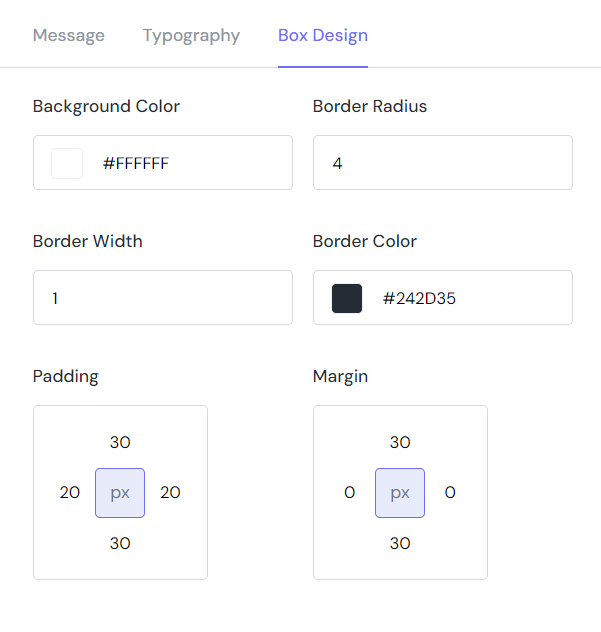
Box Design
Finally, set up Background Color, Border Radius, Width, Padding, Margin… within this tab.
Okey, it’s time to hit the Save & Publish button, and see the result on the front
