Help Center › How to create a simple Email Popup
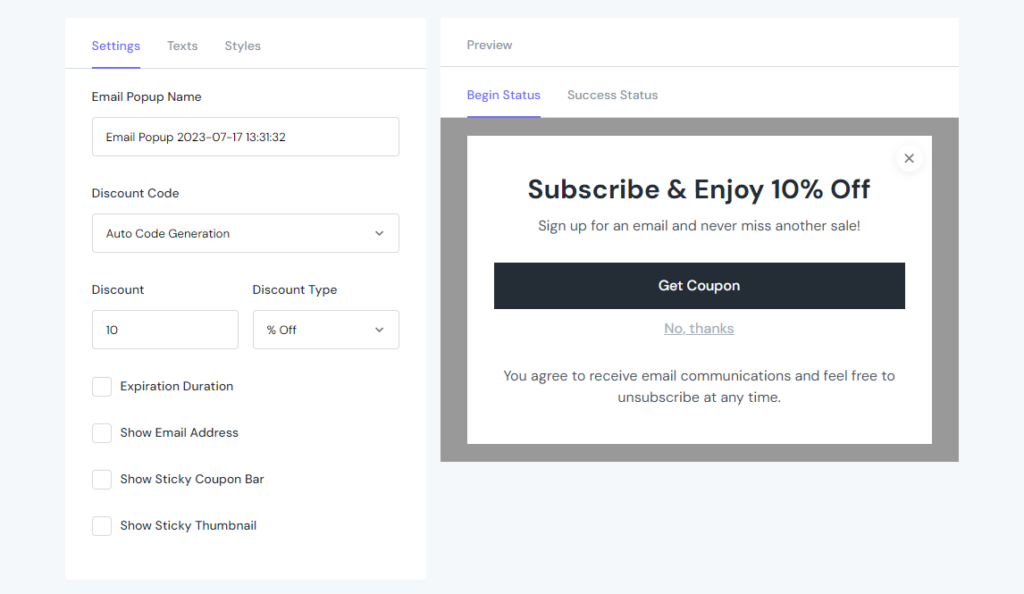
Set up the name for the popup. Select how customers can get code from the popup by choosing from 3 options:
Auto Generation, Enter Code Manually, or No Coupon. (In this case, we select Auto)
Define how much you want to discount for your customers with Discount Value & Discount Type fields.
Then, decide how long the popup will stay at your site, using the Expiration Duration field.
To show Name & Email fields, tick the checkboxes and custom the placeholder texts.
Tick the checkbox of Show Sticky Coupon Bar to remind customers about the code.
And finally, check the Show the Sticky Thumbnail to make sure the popup floats whenever they scroll down the site.
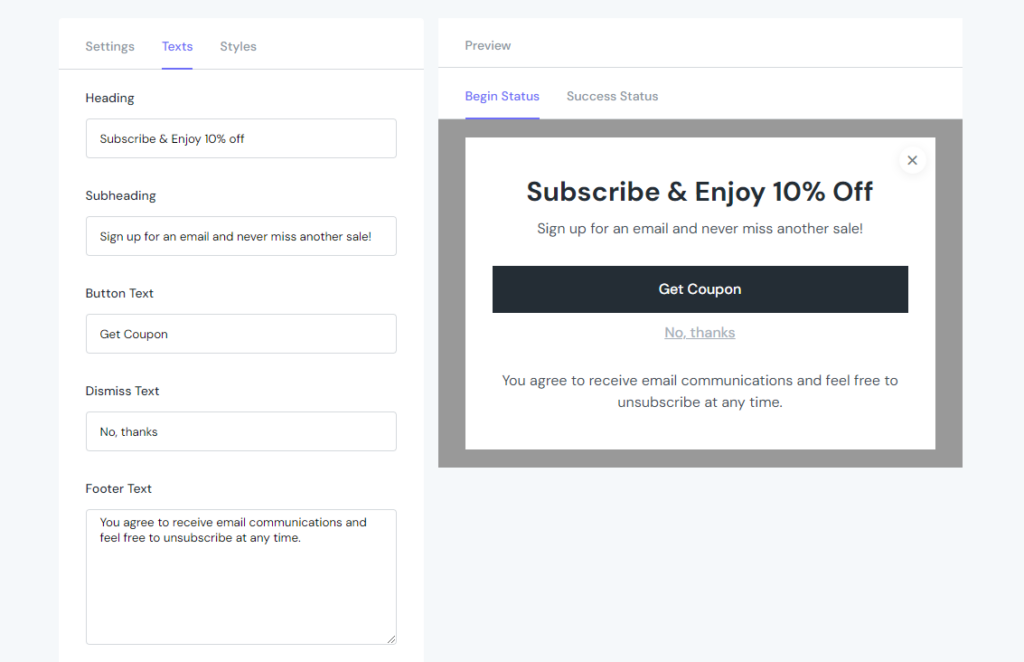
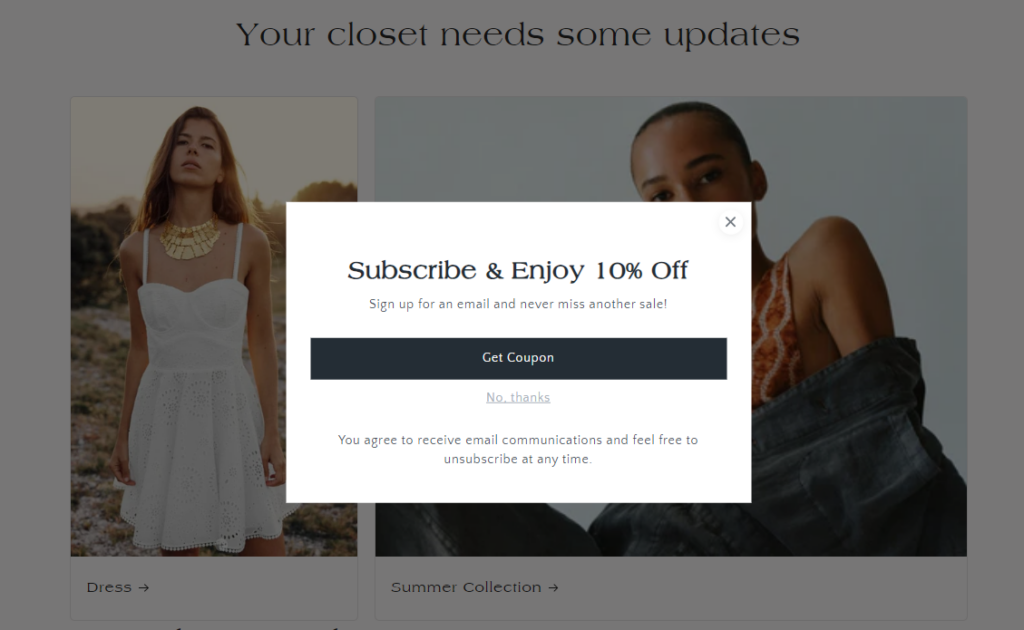
You can configure Heading, Sub-Heading, Button Text, Dismiss Text, Footer Text, and so on.
Moreover, you can even configure text & display all the stages including Begin Status, Success Status, Sticky Coupon Bar & Sticky Thumbnail.
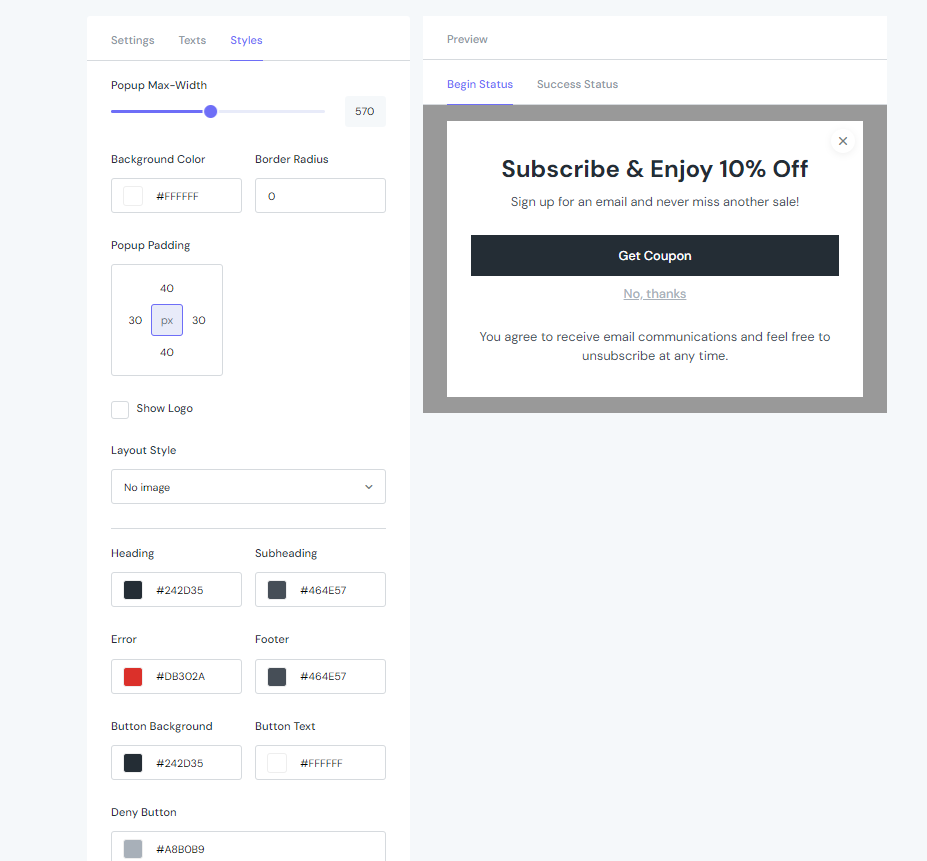
Things come the same with the Styles tab as you can configure the settings of each Status, separately.
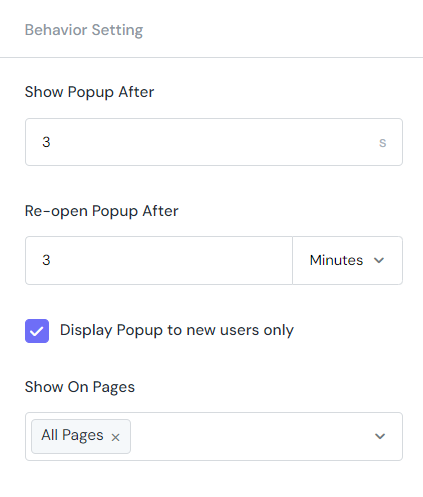
Then, go set up the Behaviour Setting
Tadaa! This is how the popup look on the front