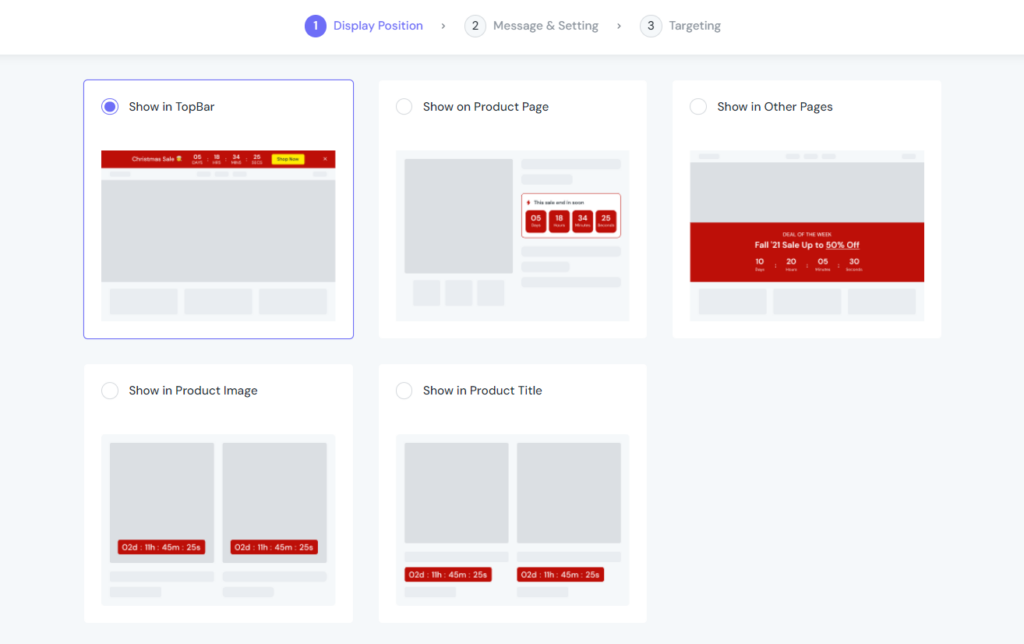
Select the Display Position for Countdown Timer from the list:
Show in Top Bar
Show in Product Page
Show in Other Pages
Show in Product Image
Show in Product Title
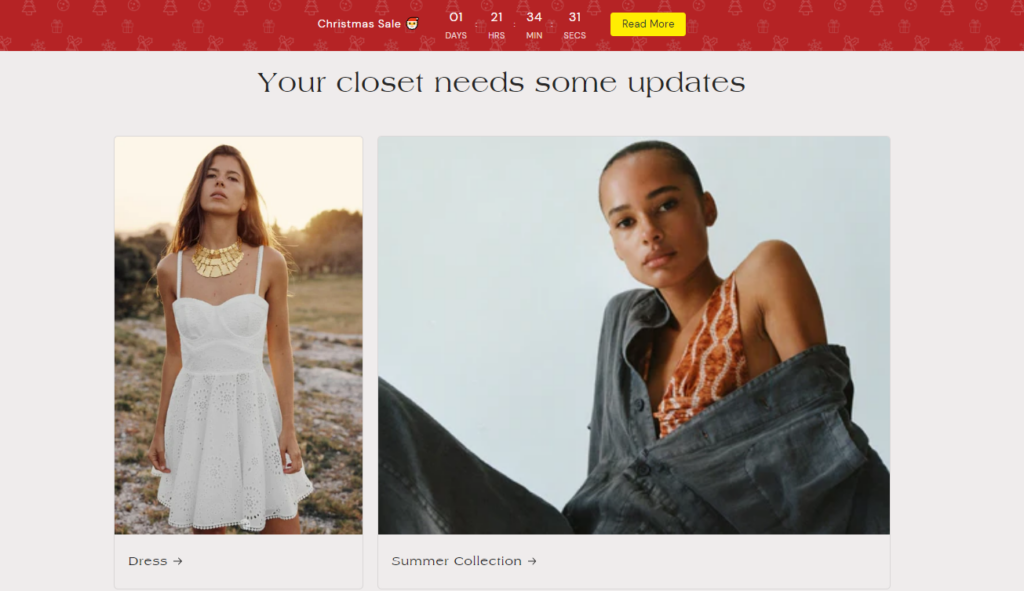
In this case, we decided to show it in the top bar.
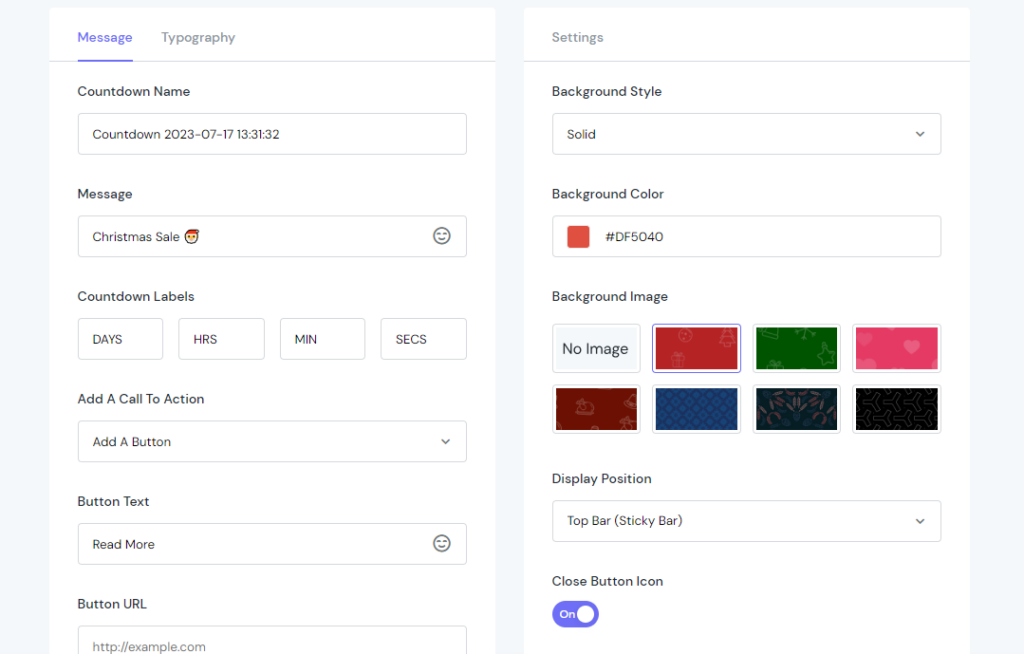
Message & Setting
Configure the Message & Typography tab like this (This case, we are creating a countdown banner for the Christmas sale campaign. So we select the red theme as default)
You can Add a Call To Action button and choose how it will display:
No Call To Action
Call To Action Button
Simple Link
Make Entire Bar Clickable
Whatever you select, you then have to configure the look and feel individually.
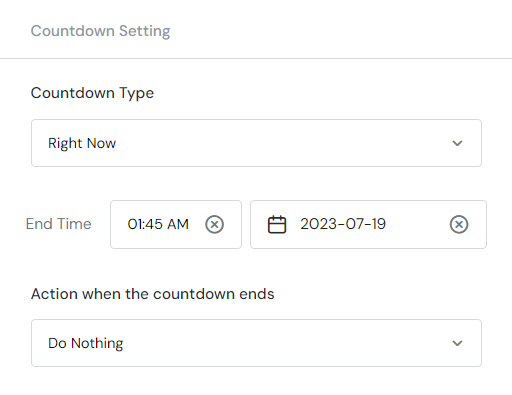
Then, move to the Countdown Setting section
You can choose from 3 Countdown Types including:
Right Now
Definite Time
Fixed Time Per Visitor
This case, we select the Right Now option, and set the End Time like above. Then, go set up Action when the countdown ends. We selected Do Nothing instead of Repeat It or Hide the bar.
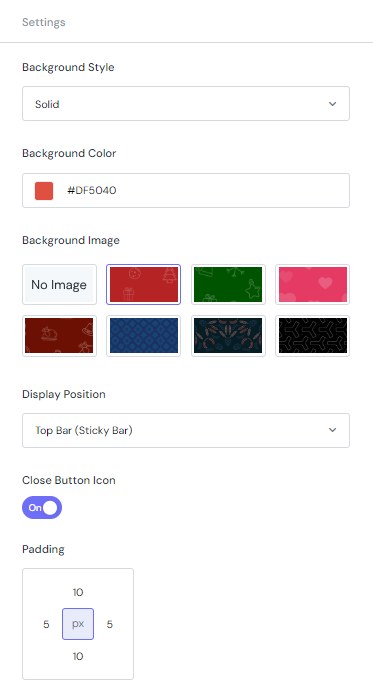
Next, define the look of the countdown bar with the settings of Background Style, Background Style, Background Color, Background Image, Display Position, Close Button Icon, Padding…
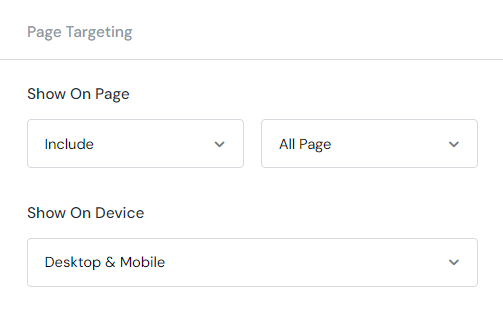
Targeting
After finishing all the settings, decide where to put your countdown on.
In the Show On Page field, select Include to include the pages listed inside the dropdown list in the right. Otherwise, select Exclude to not show the countdown on the selected pages.
Finally, in the Show On Device section, define which device that the countdown will be displayed on. You can choose from Desktop, Mobile or both.
Okey, time to see how the countdown look in the front: